This tool can quit easily be found and bought on the web, but since it was in the weekend and I didn’t wanna wait for another week or two to remove my chainring I decided to create the tool in my workshop.
If you want to buy one instead of creating it by yourself, search the web for “Cyclus tool bosch performance gen 4” or “Cyclus tools Bosch GEN3 + GEN4 Lockring-tool”.
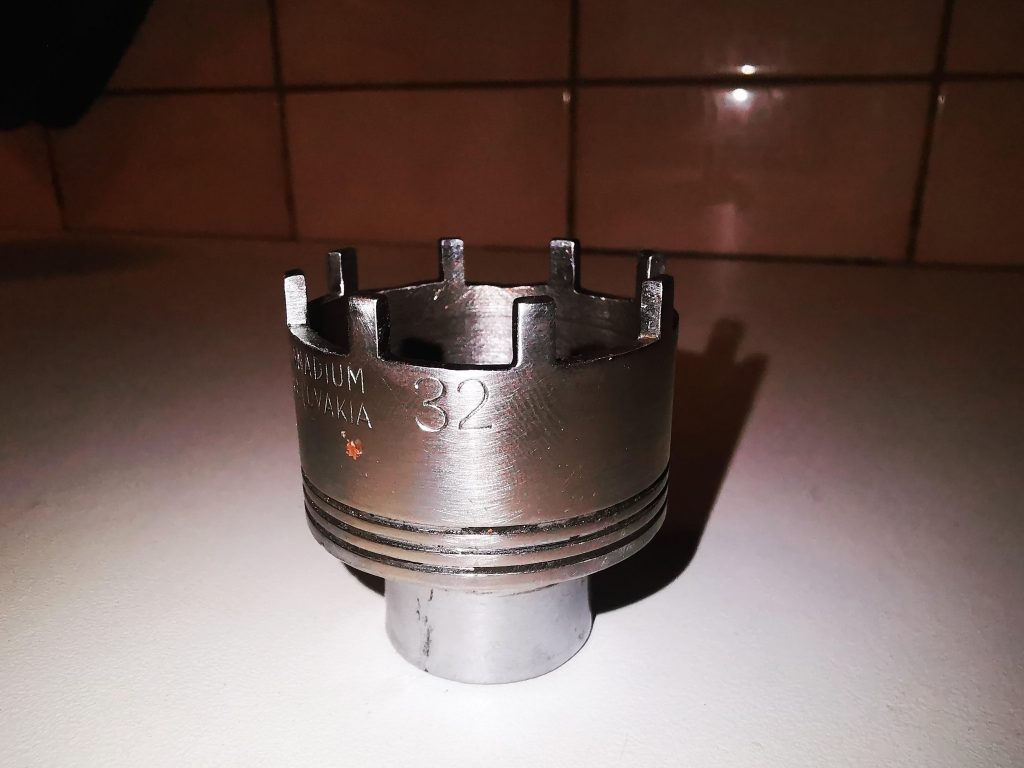
I started the project by finding a suitable old retired socket that could fit for this purpose and the 32 millimeter was a perfect match.
My specific 32 socket was 36,5 mm between the bolt edges and 42,7 mm on the outside.
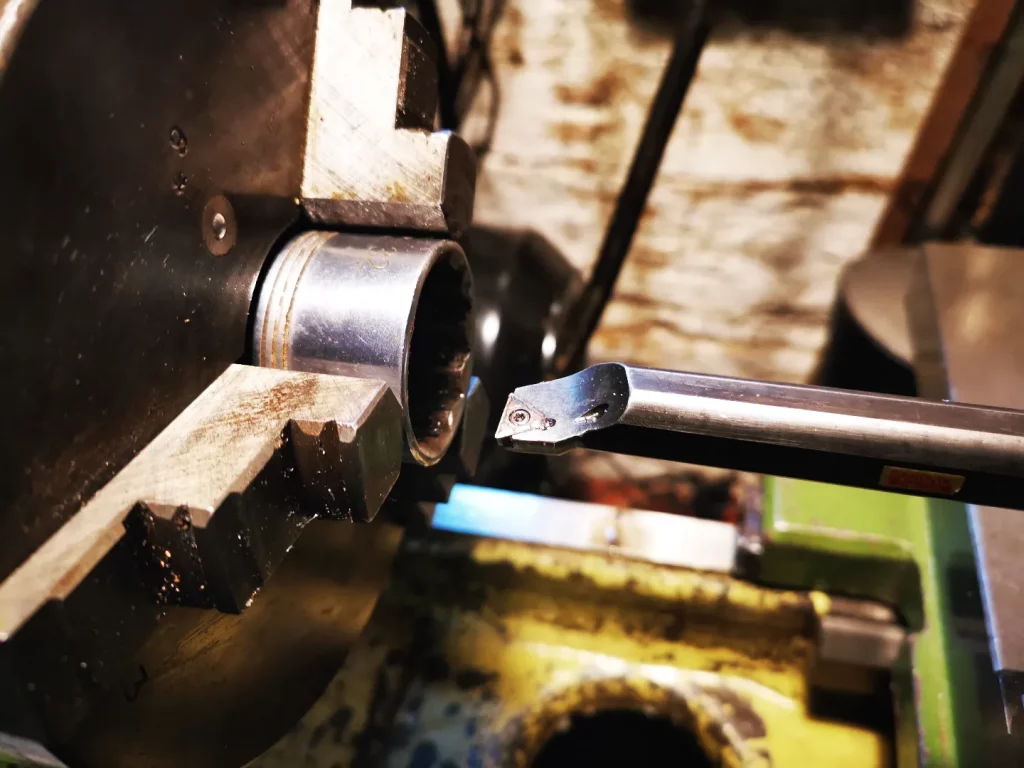
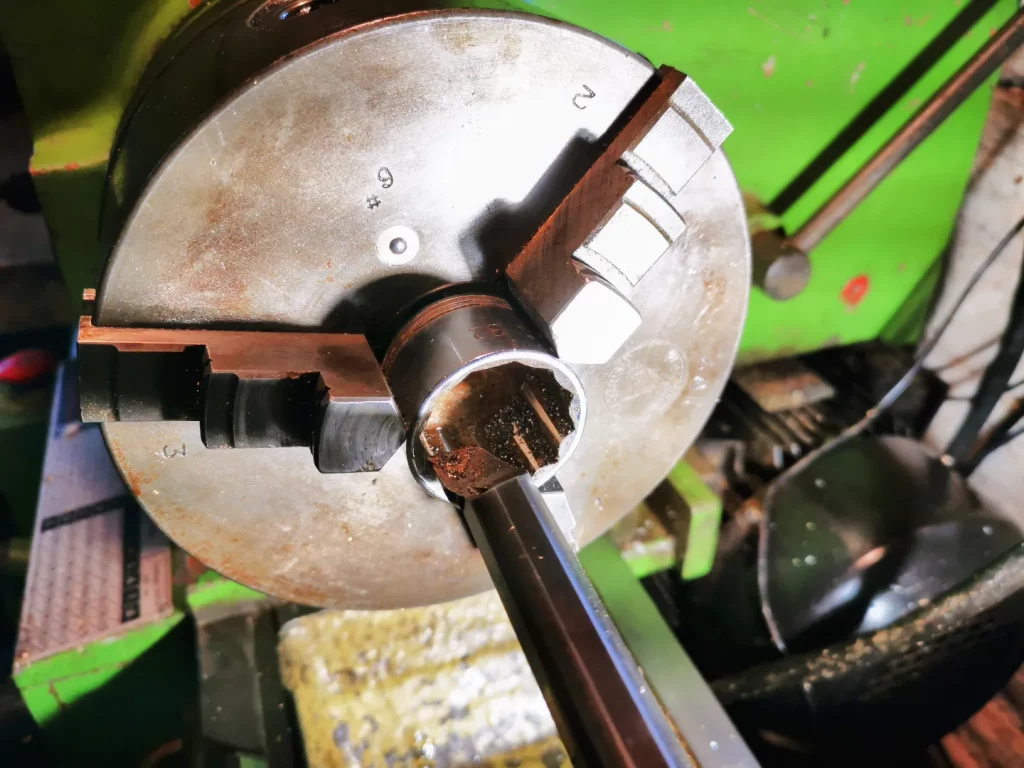
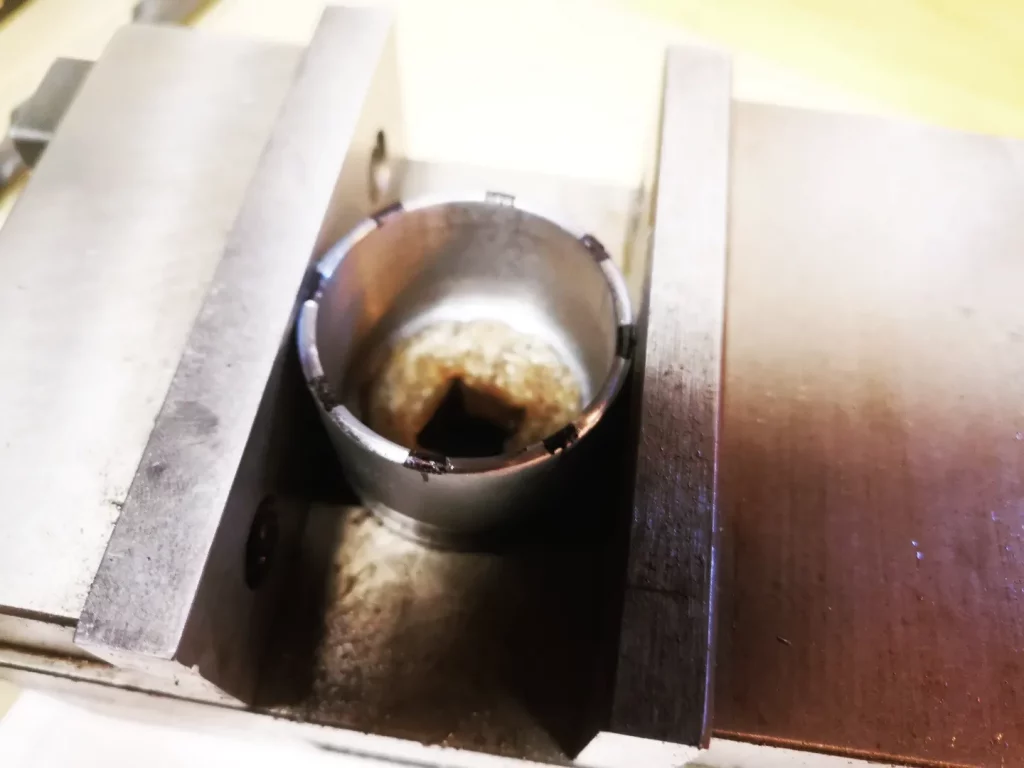
I put the socket in my lathe and took it down to 37 mm on the inside.
After the surgery in the lathe I started to measure where the teethes should be placed. I put the socket on a paper and draw a circle around it. Then I draw an square around the circle to find the center of the circle. When I had a center point it was easy to make 8 lines, one for each tooth.
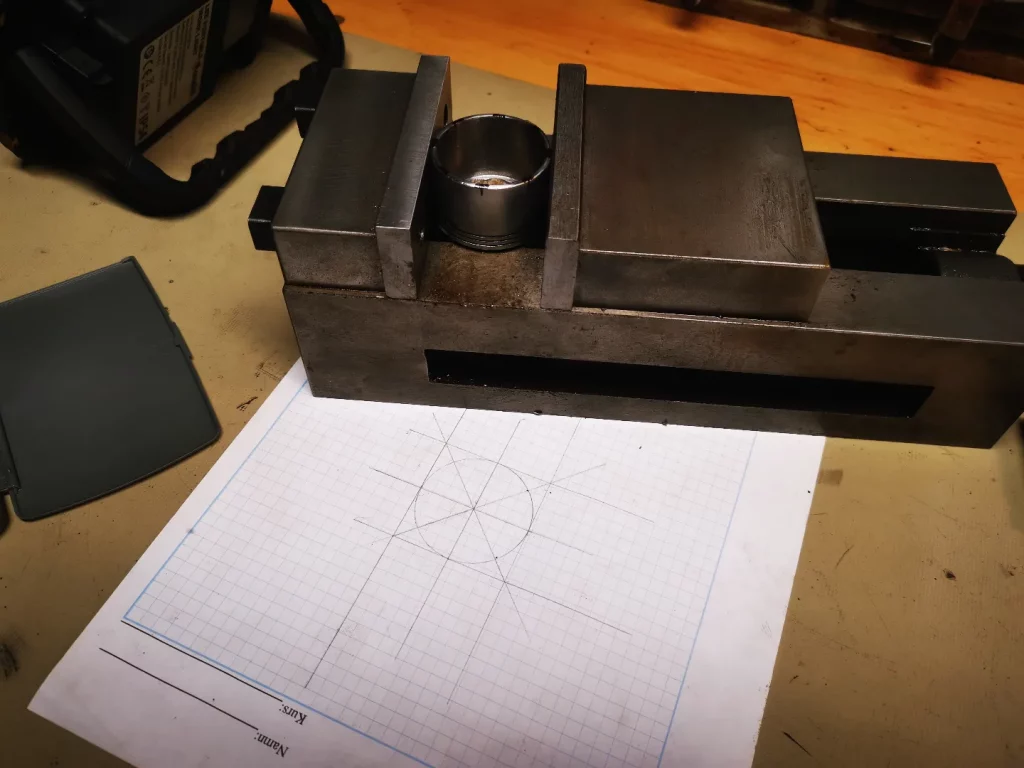
I put 8 marks on the socket for the centers for all 8 teethes. The black tape around it is for securing the height of the teethes.
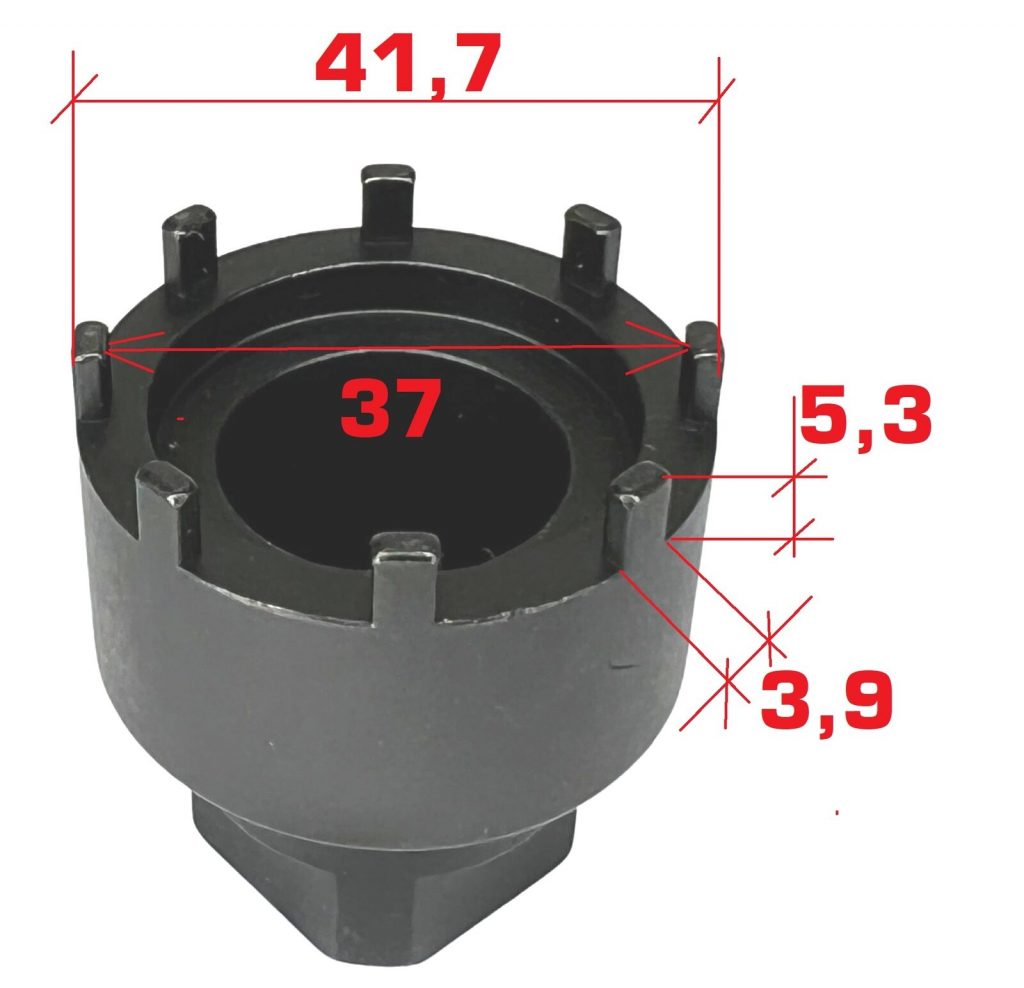
I then marked 1,95 mm on each side of the 8 centers I previously marked. This should result in a tooth that is 3,9 mm wide.
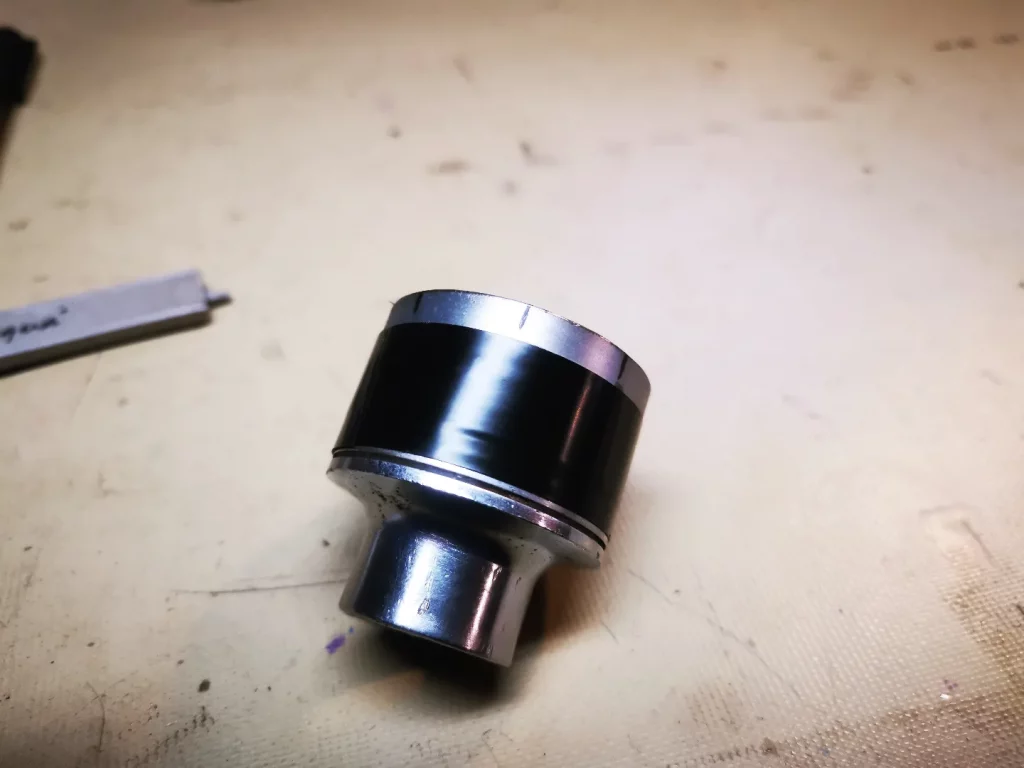
I used a grinder to remove everything between the teethes and a small metal rasp to clean up afterwards. Make sure to not remove to much of the metal with the grinder and then do the fine tuning with the metal rasp. I forgot to take photos of this last process.


And this is the result after some sanding as well.
I hope this guide helped or inspired you to find a solution to your problems.